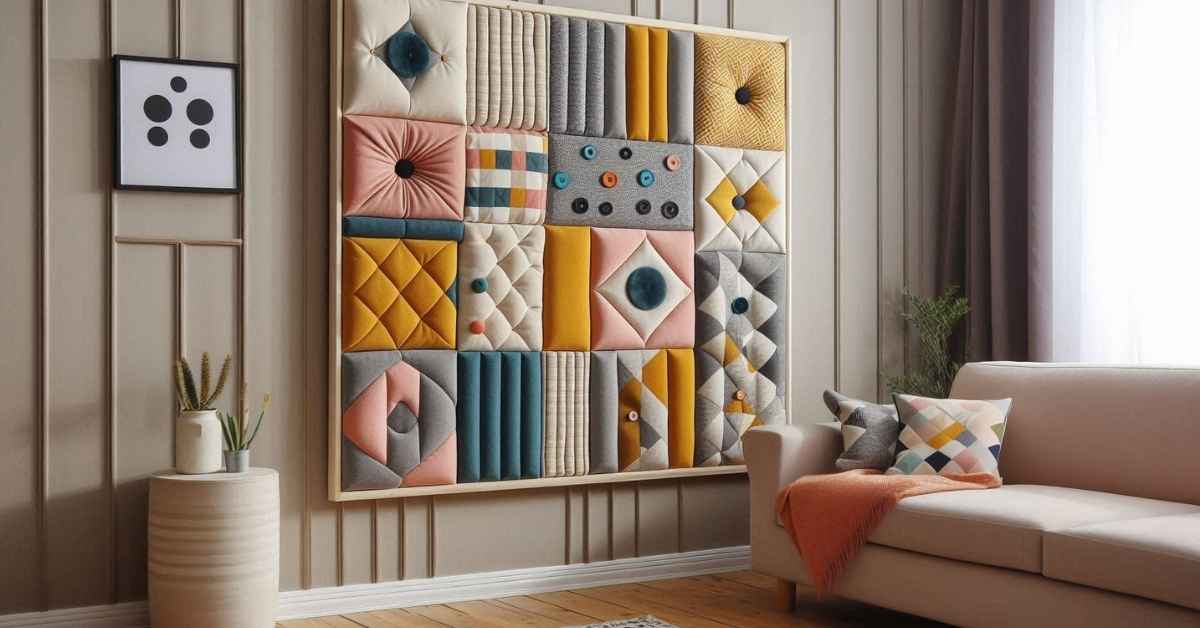
Are you looking to add a touch of elegance and comfort to your home decor? Upholstered wall panels are a fantastic way to achieve a stylish and cozy look without spending a fortune. In this guide, we will walk you through how to make a DIY upholstered wall panel that will elevate the aesthetics of any room. Whether you want to enhance your bedroom, living room, or home office, this project is both accessible and customizable to fit your style. Let’s dive into the process!
Materials and Tools You’ll Need
Before we get started on how to make a DIY upholstered wall panel, let’s gather the materials and tools required for this project:
- Plywood or MDF Board – This will serve as the base for your wall panel.
- Foam Padding – Choose a thickness that suits your comfort needs.
- Fabric – Select a durable fabric that complements your decor.
- Batting – Adds an extra layer of softness and helps to smooth out the fabric.
- Staple Gun and Staples – To attach the fabric and padding to the board.
- Adhesive Spray – For securing the foam padding to the board.
- Measuring Tape – For accurate measurements.
- Utility Knife or Scissors – To cut the foam and fabric.
- Ruler or Straightedge – To ensure straight cuts and alignments.
- Hammer and Nails or Screws – For mounting the panel on the wall.
Step-by-Step Instructions
1. Measure and Cut the Plywood or MDF Board
Start by measuring the area where you want to install your upholstered wall panel. Using a ruler or straightedge, transfer these measurements to your plywood or MDF board. Use a saw to cut the board to the desired size. Make sure to wear safety goggles and follow proper safety protocols when cutting.
2. Prepare the Foam Padding
Cut the foam padding to match the size of your board. You can use a utility knife or an electric knife for a cleaner cut. Apply adhesive spray to the surface of the board, then carefully place the foam padding on top. Press down firmly to ensure it sticks well. Allow the adhesive to set according to the manufacturer’s instructions.
3. Attach the Batting
Lay the batting over the foam padding. The batting should extend slightly beyond the edges of the board. This extra length will be wrapped around to the back of the board and stapled in place. Smooth out any wrinkles or folds in the batting to ensure a smooth surface for the fabric.
4. Cut and Attach the Fabric
Next, cut your fabric to a size that is large enough to cover the batting and extend around the edges of the board. Lay the fabric over the batting and smooth it out. Starting at the center of one side, use your staple gun to secure the fabric to the back of the board. Work your way outwards, pulling the fabric taut as you go. Make sure to keep the fabric straight and even. Trim any excess fabric once it’s secured.
5. Mount the Panel
Once your DIY upholstered wall panel is complete, it’s time to mount it on the wall. Position the panel on the wall and use a level to ensure it’s straight. Depending on the weight of the panel and the type of wall, you may need to use wall anchors or screws for a secure installation. Hammer in nails or screws through the back of the panel into the wall studs.
6. Finishing Touches
Inspect your work to ensure everything is securely attached and looks polished. Smooth out any fabric wrinkles and adjust as needed. If you want to add extra detail, consider adding trim or molding around the edges of the panel.
Tips for a Professional Finish
- Fabric Choice: Opt for fabrics with a pattern or texture that hides minor imperfections and adds visual interest.
- Padding Thickness: Thicker padding provides a softer look but may be harder to mount. Consider the look you want and the practical aspects of installation.
- Wall Prep: Ensure the wall is clean and free of dust before mounting the panel for better adhesion.
FAQs about DIY Upholstered Wall Panels
Q1: Can I use a different material instead of plywood or MDF?
A1: Yes, you can use other materials like foam boards or particle boards. However, plywood and MDF are preferred for their sturdiness and ease of handling.
Q2: How do I choose the right fabric for my panel?
A2: Choose a fabric that complements your room decor and is durable enough to withstand wear. Velvet, linen, and polyester blends are popular choices for upholstered panels.
Q3: What if I want to remove the panel later?
A3: To remove the panel, carefully unscrew or remove the nails. If you used adhesive, gently pry the panel away from the wall. Be cautious to avoid damaging the wall surface.
Q4: How can I clean my upholstered wall panel?
A4: Dust the fabric regularly with a soft cloth or vacuum using a brush attachment. For stains, follow the cleaning instructions specific to your fabric type. Test any cleaning solution on a small, inconspicuous area first.
Q5: Can I create a DIY upholstered wall panel without foam?
A5: Yes, you can create a panel without foam if you prefer a firmer surface. Just ensure you use sufficient batting to create a smooth appearance.
Conclusion
Creating a DIY upholstered wall panel is a rewarding project that adds a touch of sophistication and comfort to any space. By following these steps, you can craft a custom piece that enhances your home decor. Remember, the key to a successful DIY upholstered wall panel is in the preparation and attention to detail. Happy upholstering!
